1
 →
→
Desktop AI Assistant powered by GPT-6, GPT-5, Gemini, Claude, Ollama, Grok, DeepSeek, Perplexity, Bielik, chat, agents, vision, voice, RAG, image and video generation, tools, MCP, plugins
szczyglis-dev/py-gpt is an open-source project on GitHub, mainly written in Python. Desktop AI Assistant powered by GPT-6, GPT-5, Gemini, Claude, Ollama, Grok, DeepSeek, Perplexity, Bielik, chat, agents, vision, voice, RAG It currently holds 1,930 stars and 345 forks with 0 open issues, and was last pushed on an unknown date (repository created unknown).
AI Homed tracks it on the Local & On-Device AI board.

Release: 2.8.27 | build: 2026-09-20 | Python: >=3.10, <3.14
Official website: https://pygpt.net | Documentation | Discord
Get it from: PyPi | Snap Store | Microsoft Store | AppImage
Compiled version for Linux and Windows: Download (64bit)
Donate: Buy Me A Coffee | GitHub Sponsors | PayPal
PyGPT is an all-in-one desktop AI assistant supporting models from OpenAI (GPT-6 Astra, GPT-5.6, GPT-4, etc.), Google Gemini, Anthropic Claude, xAI Grok, Perplexity / Sonar, DeepSeek, and models available through HuggingFace, LlamaIndex, OpenAI-compatible APIs, and local Ollama installations such as Gemma, Qwen, Llama, Mistral, DeepSeek, Bielik, Nemotron, and gpt-oss.
It supports chat, Chat with Agents and other agent workflows, completions, Chat with Files (RAG), image and video generation, and image analysis. Models can work with files, run Python and system or custom commands, transfer files, call external APIs, and search the web with DuckDuckGo, Google and Microsoft Bing.
PyGPT also provides speech synthesis through OpenAI, Microsoft Azure, Google Cloud / GenAI, Eleven Labs and xAI, plus speech recognition with OpenAI Whisper (API or local), Google / Google Cloud / GenAI, Bing and xAI Grok Voice. It stores conversation history and memory, supports reusable presets, and can be extended with built-in or custom plugins for tools, automation and external integrations.
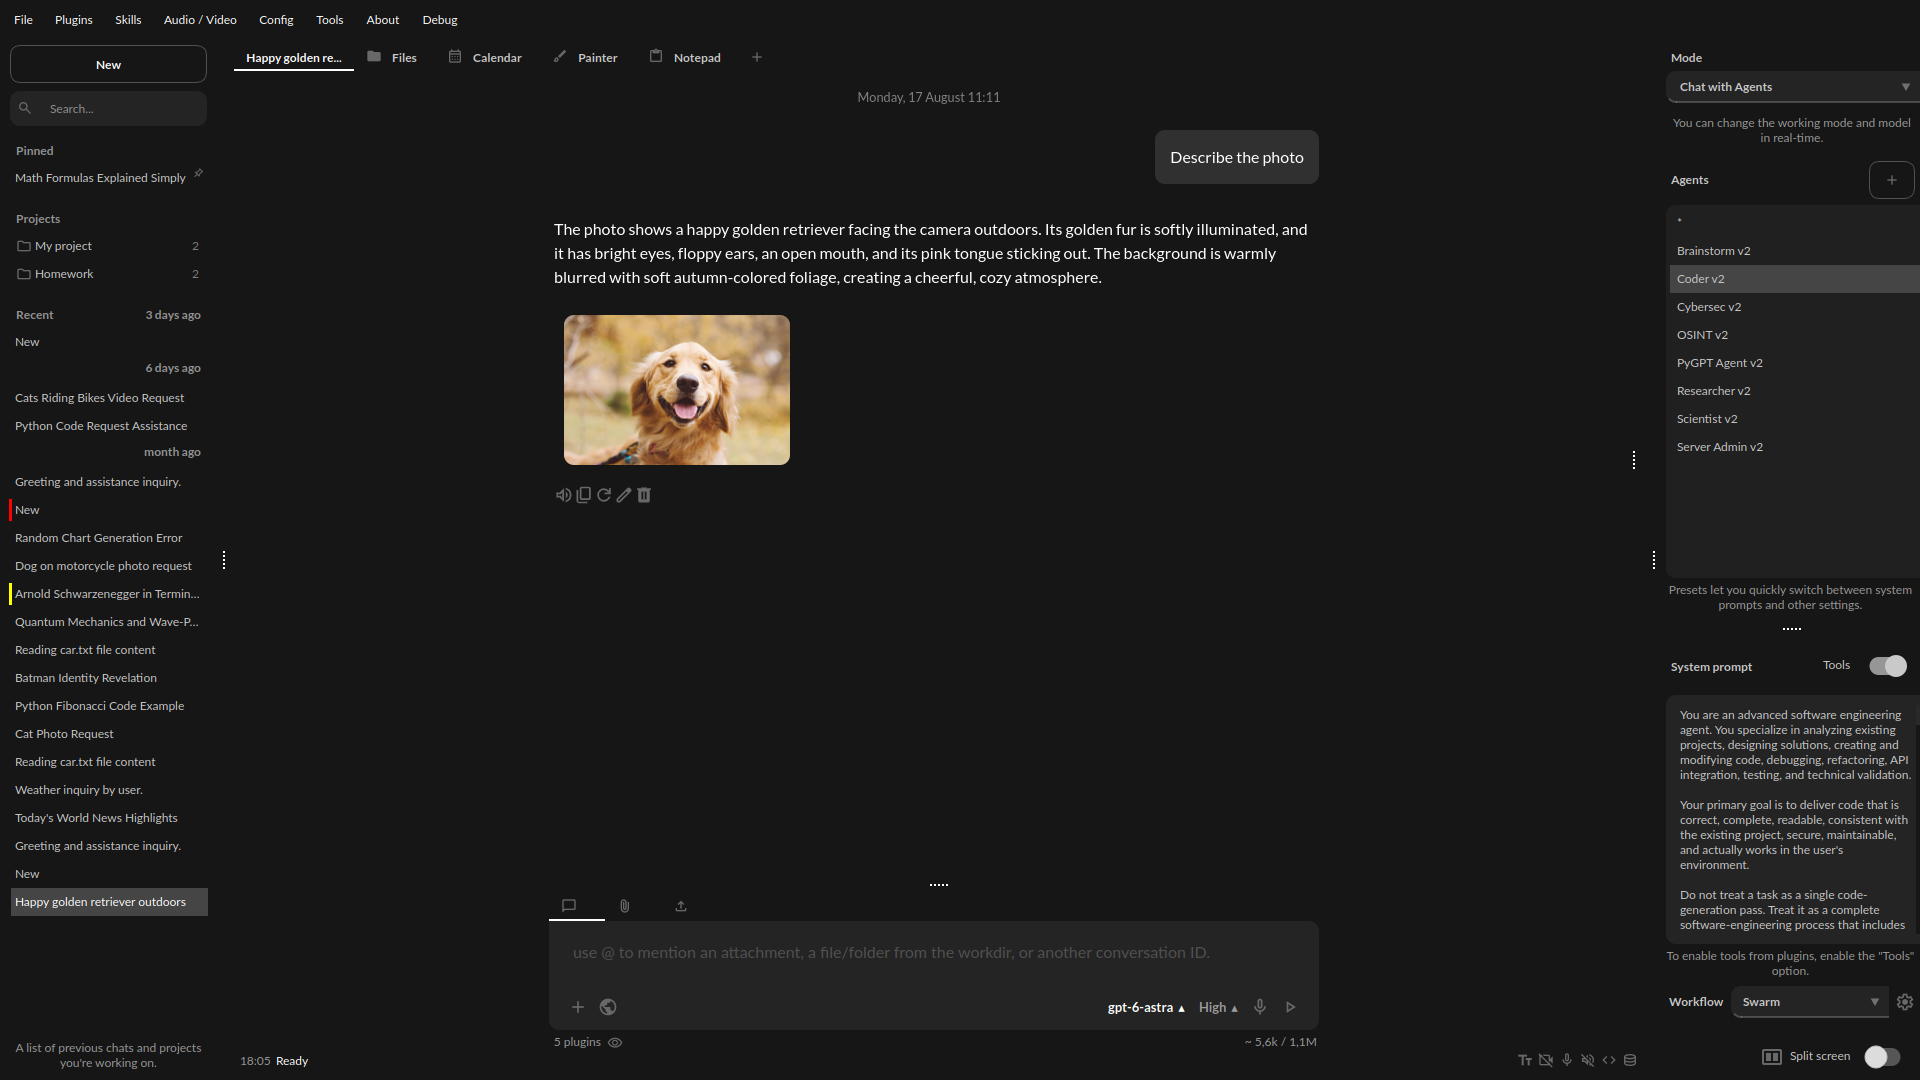
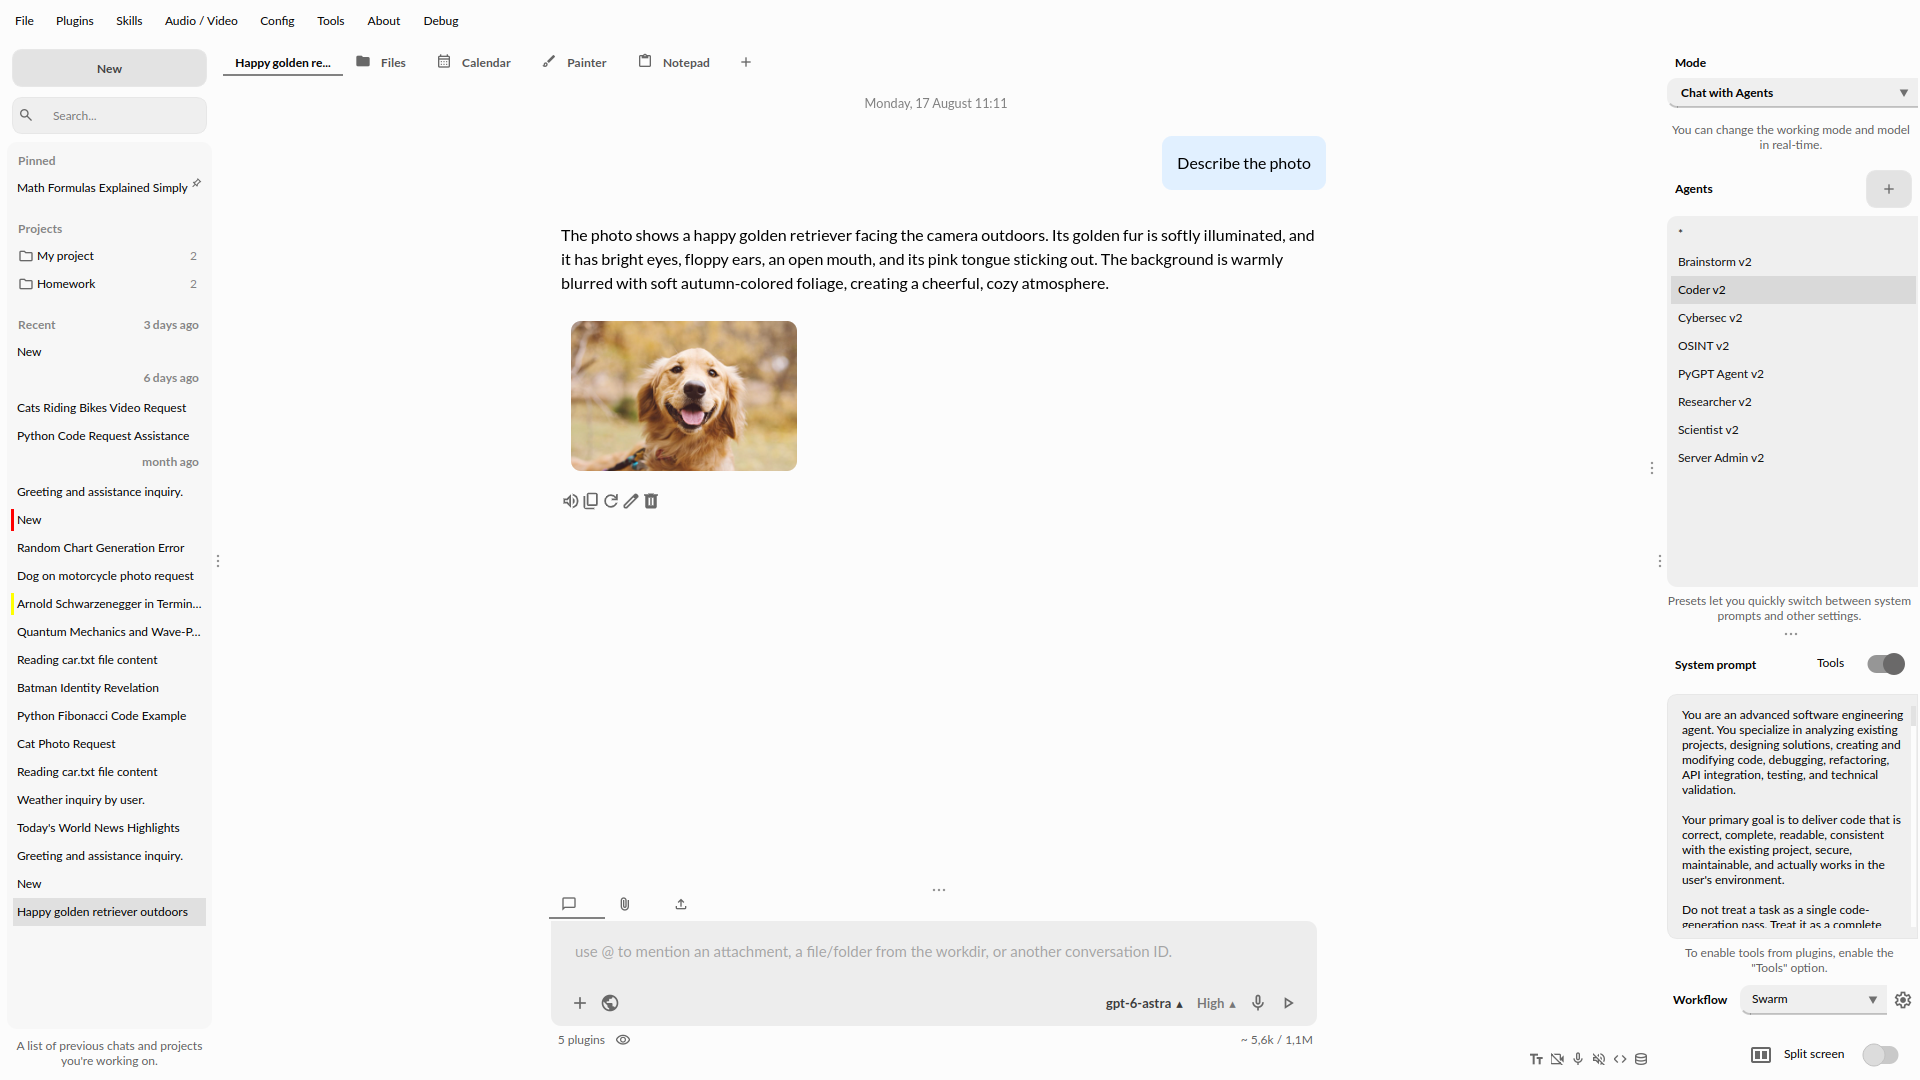
Screenshots (version 2.8.23, build 2026-09-17):
Dark theme:
Light theme:
You can download compiled 64-bit versions for Windows and Linux here: https://pygpt.net/#download
Linux, Windows and Mac, written in Python.ChatGPT, but locally (on a desktop computer).OpenAI GPT-6 Astra, GPT-5.6, GPT-4, Google Gemini, Anthropic Claude, xAI Grok, DeepSeek V3/R1, Perplexity / Sonar, and any model accessible through Ollama such as Gemma, Qwen, Llama, Mistral, DeepSeek, Bielik, Nemotron, gpt-oss, etc.LlamaIndex support: chat with data such as: txt, pdf, csv, html, md, docx, json, epub, xlsx, xml, webpages, Google, GitHub, video/audio, images and other data types, or use conversation history as additional context provided to the model.gpt-image, Imagen, Gemini, and Nano Banana.Veo3 and Sora2.DuckDuckGo, Google and Microsoft Bing.OpenAI, Microsoft Azure, Google Cloud / GenAI, Eleven Labs and xAI Text-To-Speech services.OpenAI Whisper (API or local), Google / Google Cloud / GenAI, Microsoft Bing and xAI Grok Voice.Files I/O, Python interpreter, Web search, Google, Facebook, X/Twitter, Slack, Telegram, GitHub, MCP, and many more.AGENTS.md rules for the main agent in Chat with Agents.SKILL.md-based Agent Skills, with GitHub/local import, an Explore catalog, per-profile enable/disable management, and on-demand use in Chat with Agents.Audio / Video menu.GitHub.Linux, Windows 10, Windows 11 and Mac.
Full Python source code is available on GitHub.
PyGPT uses your own API credentials to connect to supported AI providers such as OpenAI, Google, Anthropic, xAI, Perplexity, Mistral, OpenRouter, and others. Depending on the selected model and provider, you may need an account and a valid API key for that service. Local models do not require external API credentials. You can also use built-it LlamaIndex support to connect to other Large Language Models (LLMs), such as those on HuggingFace. Additional API keys may be required.
You can download compiled binary versions for Linux and Windows (10/11).
PyGPT binaries require a PC with Windows 10, 11, or Linux. Simply download the installer or the archive with the appropriate version from the download page at https://pygpt.net, extract it, or install it, and then run the application. A binary version for Mac is not available, so you must run PyGPT from PyPi or from the source code on Mac. Currently, only 64-bit binaries are available.
Linux version requires GLIBC >= 2.35.
For Windows 10/11, you can install PyGPT directly from Microsoft Store:

Link to MS Store: https://apps.microsoft.com/detail/XP99R4MX3X65VQ
You can download the latest PyGPT AppImage for Linux from the release page:
Releases: https://github.com/szczyglis-dev/py-gpt/releases
Tip: Remember to give execution permissions to the downloaded file:
```chmod +x ./PyGPT-X.X.X-x86_64.AppImage
To manage future updates you can use AppImageUpdate tool:
You can download it from: https://github.com/AppImage/AppImageUpdate/releases
After downloading, run the following command in terminal:
Snap Store (Linux)
You can install PyGPT directly from Snap Store:
To manage future updates use:

Using camera: to use camera in Snap version you must connect the camera with:
Using microphone: to use microphone in Snap version you must connect the microphone with:
Using audio output: to use audio output in Snap version you must connect the audio with:
Connecting the Docker sandbox in the Snap version:
To use Docker-backed plugin sandboxes in the Snap version, you must connect PyGPT to the Docker daemon:
PyPi (pip)
The application can also be installed from PyPi using pip install:
1. Create virtual environment:
2. Install from PyPi:
3. Once installed run the command to start the application:
Running from GitHub source code
An alternative method is to download the source code from GitHub and execute the application using the Python interpreter (>=3.10, <3.14).
Install with pip
1. Clone git repository or download .zip file:
2. Create a new virtual environment:
3. Install requirements:
4. Run the application:
Install with Poetry
1. Clone git repository or download .zip file:
2. Install Poetry (if not installed):
3. Create a new virtual environment that uses Python 3.10:
or (Poetry >= 2.0):
4. Install requirements:
5. Run the application:
Tip: you can use PyInstaller to create a compiled version of
the application for your system (required version 6.4.0).
Troubleshooting
If you have a problems with xcb plugin with newer versions of PySide on Linux, e.g. like this:
...then install libxcb:
If you have a problems with audio on Linux, then try to install portaudio19-dev and/or libasound2:
Problems with GLIBC on Linux
If you encounter error:
when trying to run the compiled version for Linux, try updating GLIBC to version 2.35, or use a newer operating system that has at least version 2.35 of GLIBC.
Access to camera in Snap version:
Access to microphone in Snap version:
To use microphone in Snap version you must connect the microphone with:
Snap and AppArmor permission denied
Snap installs AppArmor profiles for each application by default. The profile for PyGPT is created at:
/var/lib/snapd/apparmor/profiles/snap.pygpt.pygpt
The application should work with the default profile; however, if you encounter errors like:
PermissionError: [Errno 13] Permission denied: '/etc/httpd/conf/mime.types'
add the appropriate access rules to the profile file, for example:
...
/etc/httpd/conf/mime.types r
and reload the profiles.
Alternatively, you can try removing snap and reinstalling it:
sudo snap remove --purge pygpt
sudo snap install pygpt
Access to a microphone and audio in Windows version:
If you have a problems with audio or a microphone in the non-binary PIP/Python version on Windows, check to see if FFmpeg is installed. If it's not, install it and add it to the PATH. You can find a tutorial on how to do this here: https://phoenixnap.com/kb/ffmpeg-windows. The binary version already includes FFmpeg.
Windows and VC++ Redistributable
On Windows, the proper functioning requires the installation of the VC++ Redistributable, which can be found on the Microsoft website:
https://learn.microsoft.com/en-us/cpp/windows/latest-supported-vc-redist
The libraries from this environment are used by PySide6 - one of the base packages used by PyGPT.
The absence of the installed libraries may cause display errors or completely prevent the application from running.
It may also be necessary to add the path C:\path\to\venv\Lib\python3.x\site-packages\PySide6 to the PATH variable.
WebEngine/Chromium renderer and OpenGL problems
If you have a problems with WebEngine / Chromium renderer you can force the legacy mode by launching the app with command line arguments:
and to force disable OpenGL hardware acceleration:
You can also manualy enable legacy mode by editing config file - open the %WORKDIR%/config.json config file in editor and set the following options:
For API-based models, an internet connection and the appropriate provider API key are required. Models from OpenAI, Google, Anthropic, and xAI require API keys for their respective providers. Local models, such as those served through Ollama, do not require external API keys.
See Debugging and Logging for logging and diagnostic options.
You can configure API keys for various providers, such as OpenAI, Anthropic, Google, xAI, Perplexity, OpenRouter, and more. This flexibility allows you to use different providers based on your needs.
During the initial setup, configure your API keys within the application.
To do so, navigate to the menu:
Config -> Settings -> API Keys
Here, you can add or manage API keys for any supported provider.
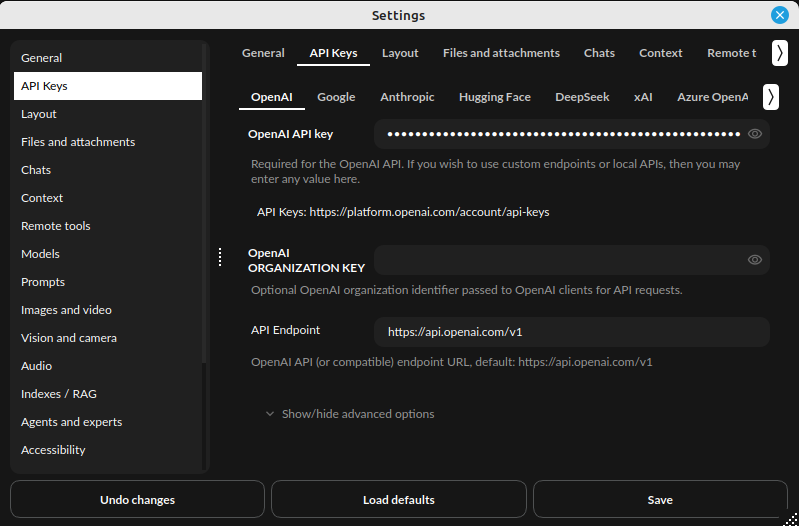
Configuring Provider
1. Select the Provider: Choose a tab with provider. 2. Enter the API Key: Paste the corresponding API key for the selected provider.
Example
+ Inline vision and image generation
In PyGPT, this mode lets you chat with models such as GPT-6 Astra, GPT-5.6, GPT-4, o1, o3, Claude, Gemini, Grok, Perplexity (Sonar), DeepSeek, and many others. PyGPT can use native SDKs from supported providers, including OpenAI, Google, Anthropic, and xAI, when enabled. It can also connect to providers and local services through OpenAI-compatible APIs, including Responses API and ChatCompletions API compatible endpoints where supported.
Tip: This mode uses the provider SDK directly. If there's no native client built into the app, models like Sonar or local Ollama models such as Qwen 3.6 and Gemma 4 are supported in Chat mode via LlamaIndex or OpenAI-compatible API endpoints. The app automatically switches to these endpoints when using non-OpenAI models. You can enable or disable the use of the native API SDK (per provider) in Settings -> API Keys. If the native SDK is disabled, the OpenAI SDK will be used via the compatible ChatCompletions API endpoint.
Currently built-in native clients:
Ollama models and models from other configured providers are also supported.
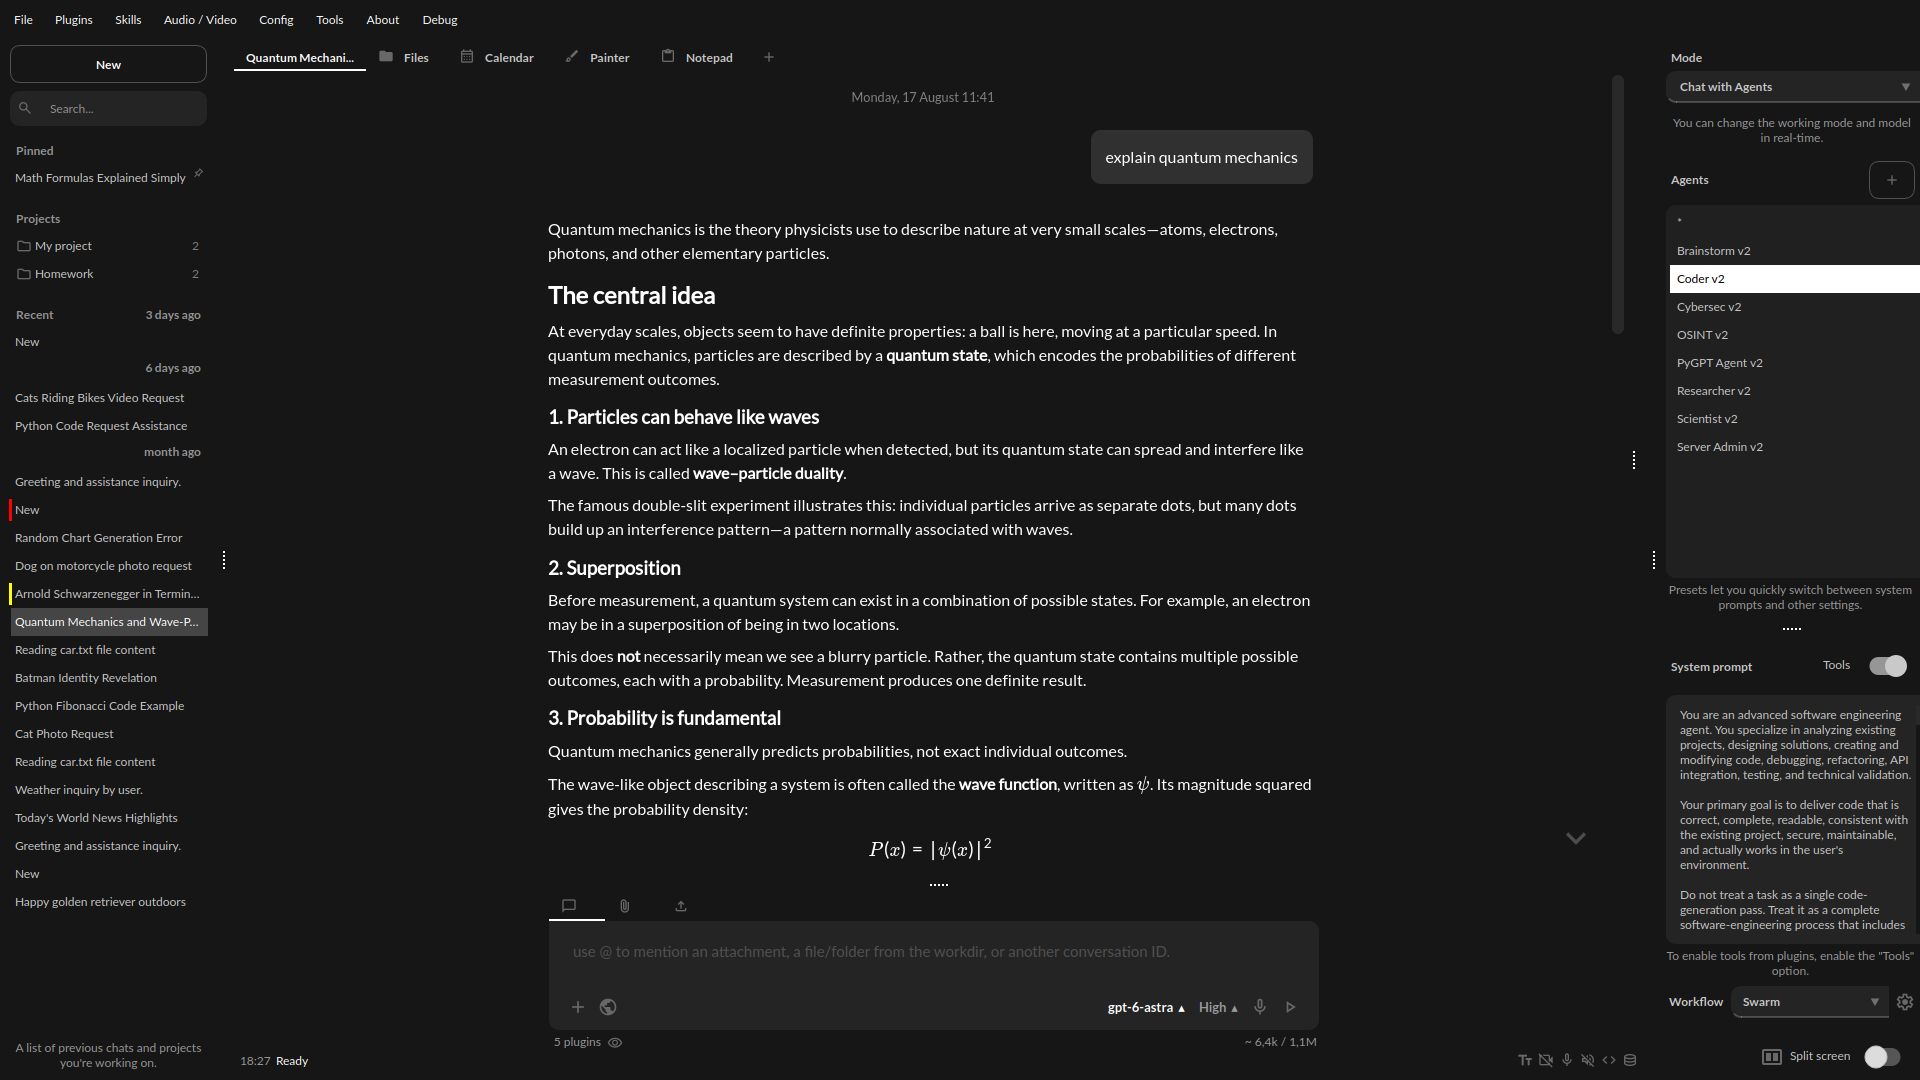
The main part of the interface is a chat window where you see your conversations. Below it is a message box for typing. On the right side, you can set up or change the model and system prompt. You can also save these settings as presets to easily switch between models or tasks.
Above where you type your messages, the interface shows you the number of tokens your message will use up as you type it – this helps to keep track of usage. There is also a feature to attach and upload files in this area. Go to the Files and Attachments section for more information on how to use attachments.
Vision: If you want to analyze photos from disk, screenshots, or camera captures and the currently selected model cannot accept image input, enable the Vision (inline) plugin in the Plugins menu. The plugin uses a separately configured image-capable Chat model only for the image-analysis turn. The fallback model can come from any supported provider (for example OpenAI, Google, Anthropic, xAI, OpenRouter, or another OpenAI-compatible provider), as long as the model is configured for Chat and image input.
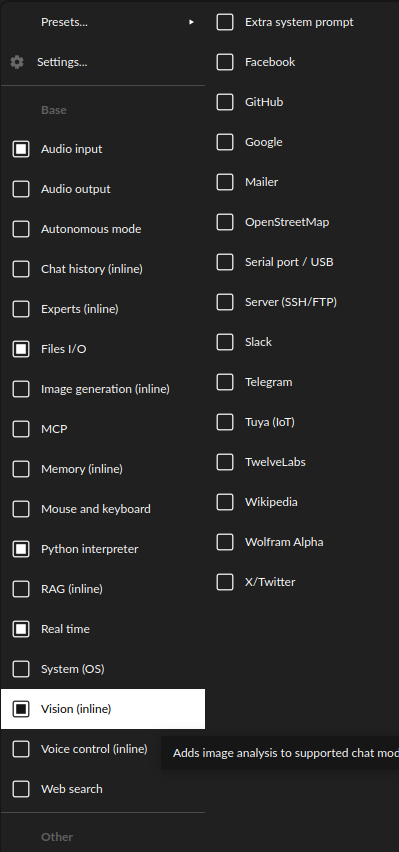
With this plugin, you can capture an image with your camera or attach an image and send it for analysis. Camera controls are available from the main Audio / Video menu under the Video section. Use Enable camera to start the live preview. Enable Auto capture to automatically capture the current frame for compatible vision turns; with auto capture disabled, click the live camera preview to take a manual snapshot. Camera device, resolution, and JPEG quality are configured in Settings -> Vision and camera -> Camera:
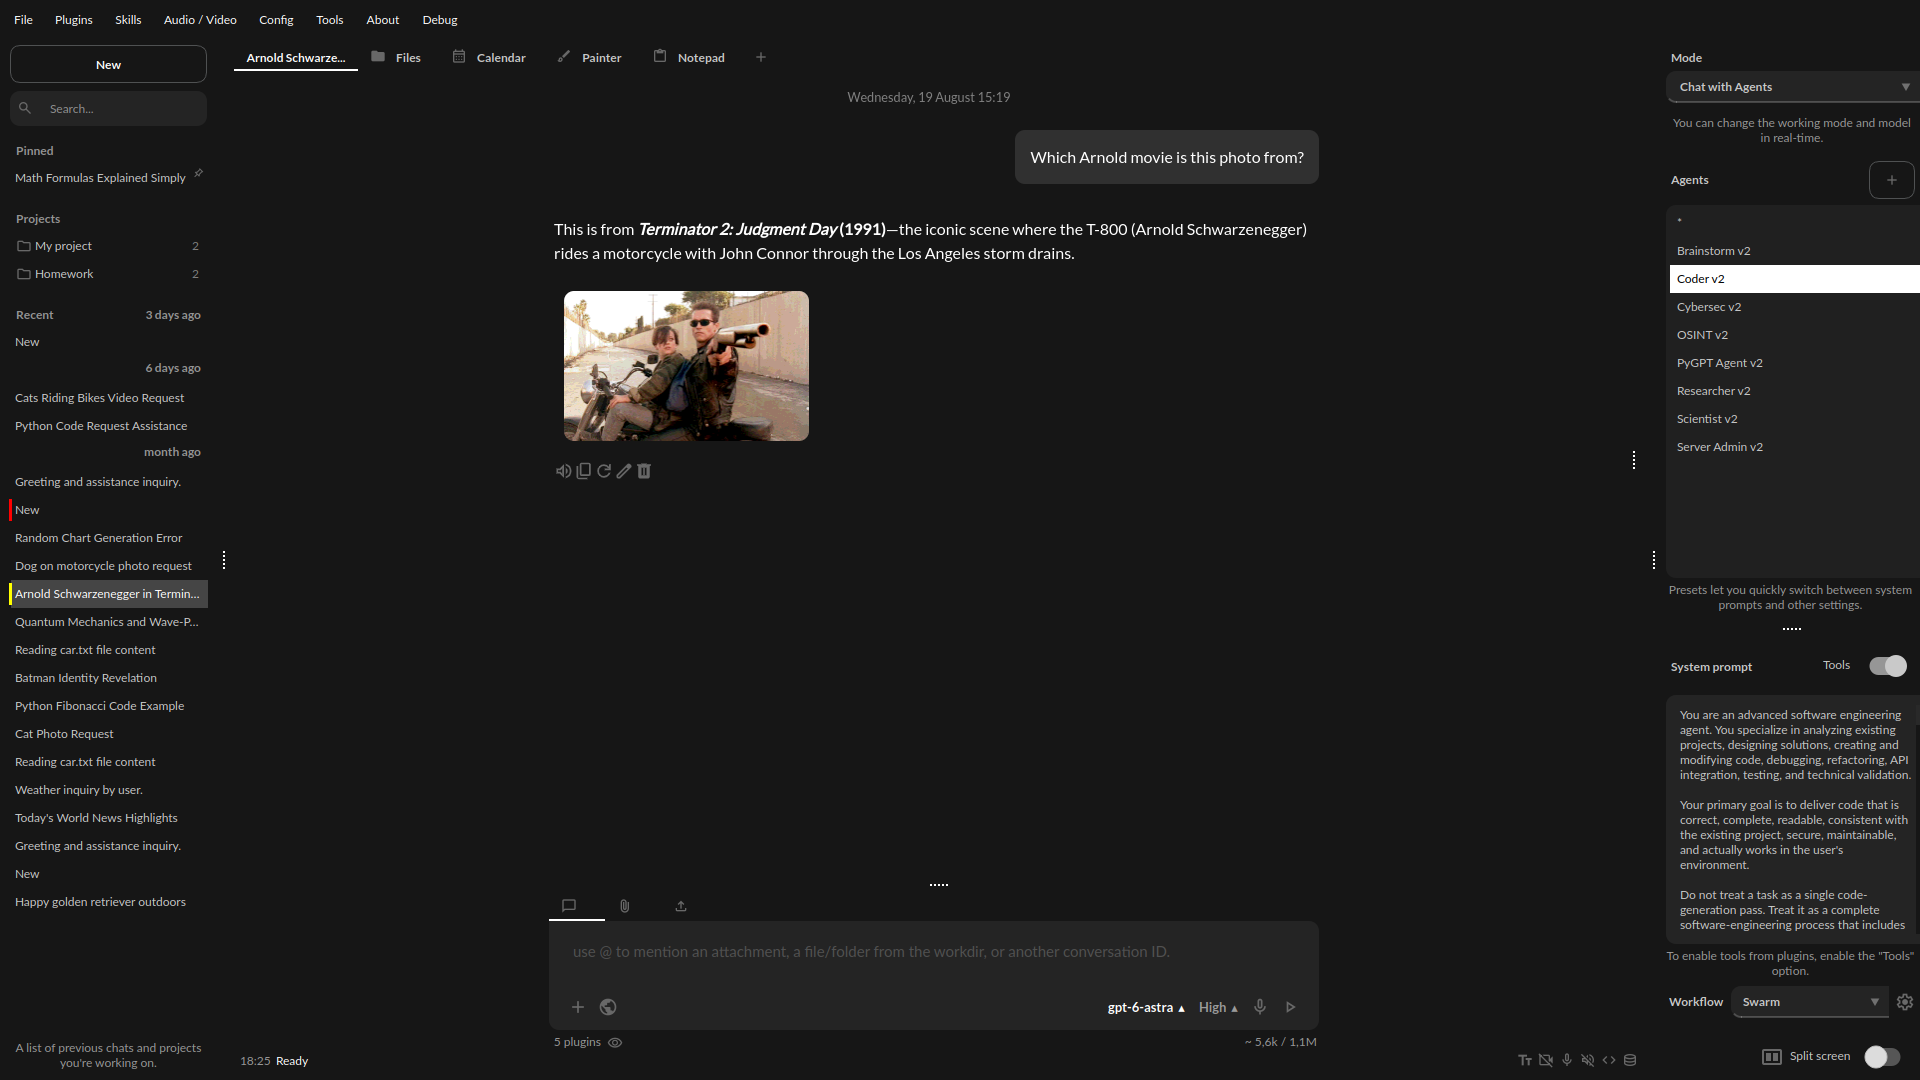
Image generation: If you want to generate images directly in chat, enable the Image generation (inline) plugin in the Plugins menu. The plugin allows you to generate images in Chat mode.
For supported models/providers, you can alternatively enable the provider-side image-generation remote tool in Config -> Settings -> Remote Tools. When available, this lets the model generate images natively without the inline plugin.
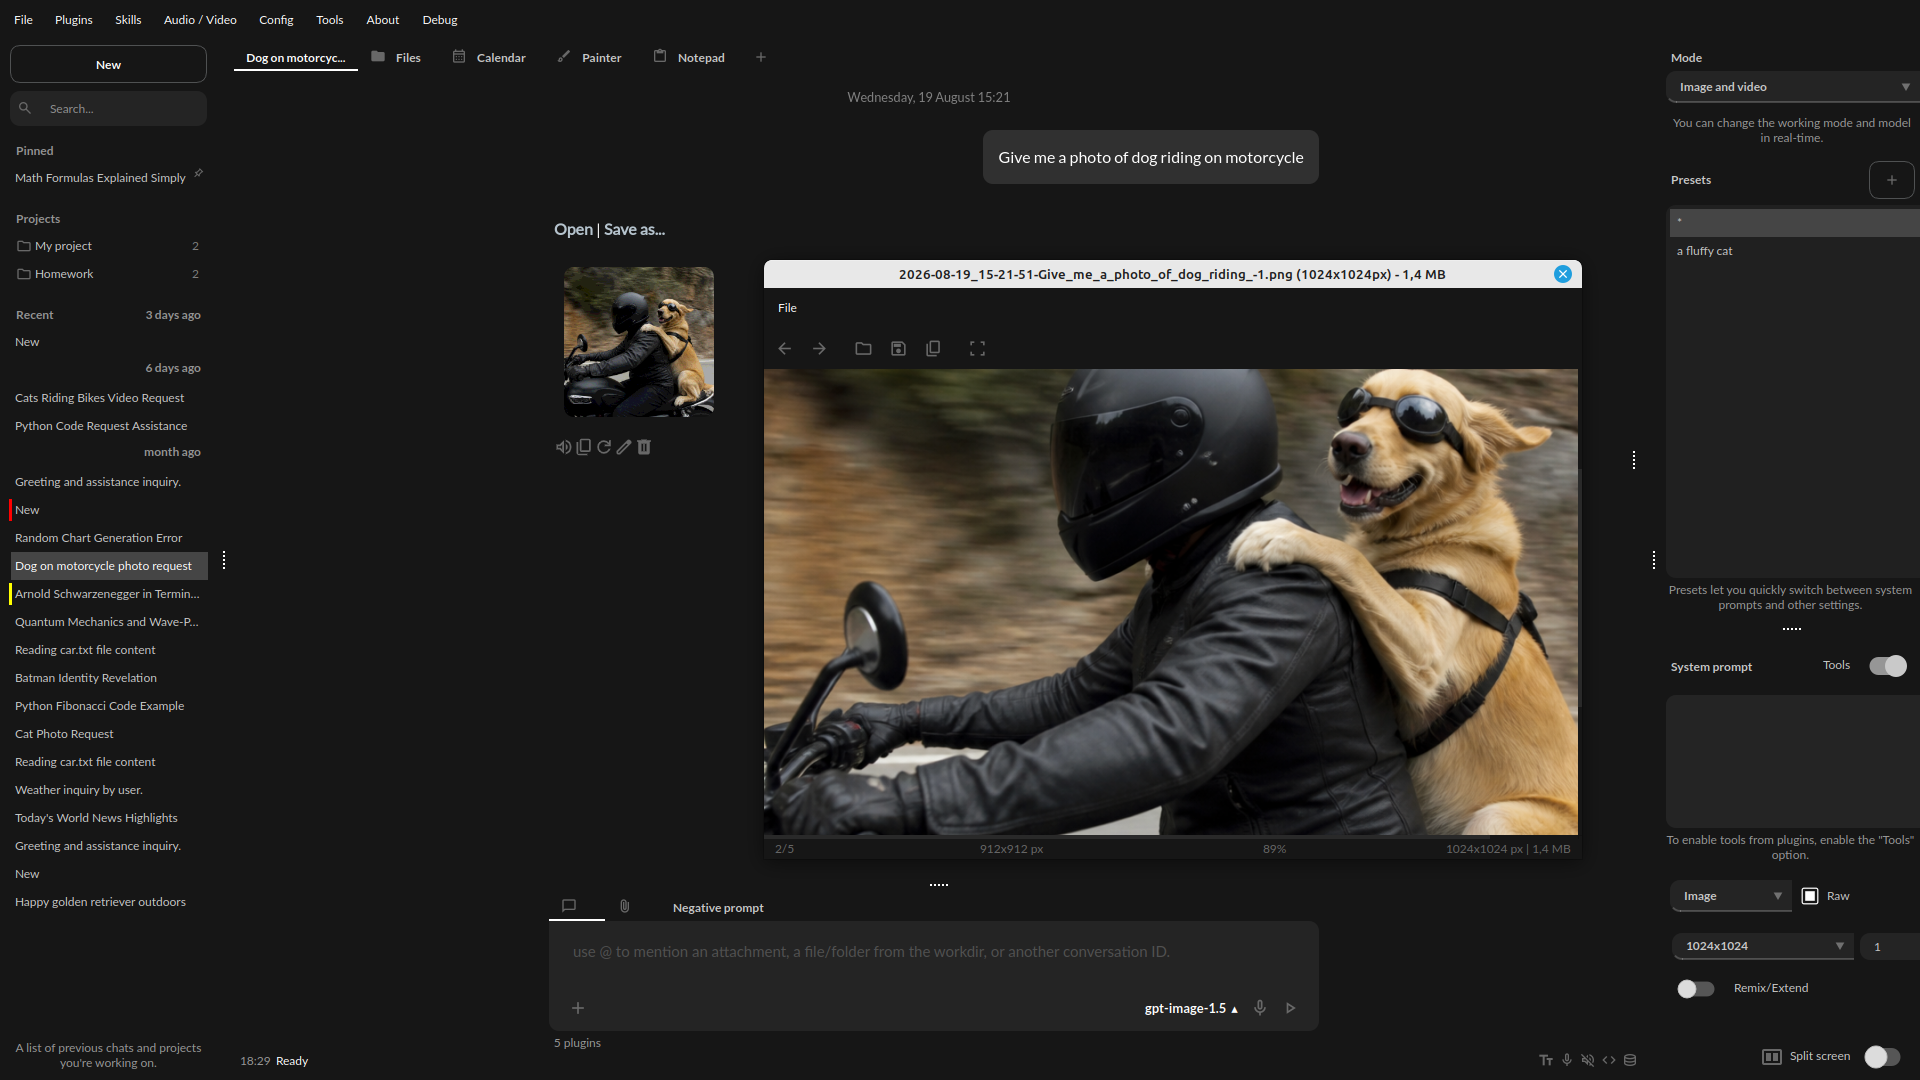
This mode enables chat interaction with your documents and entire context history through conversation.
It seamlessly incorporates LlamaIndex into the chat interface, allowing for immediate querying of your indexed documents.
Tip: If you do not want to call tools/commands, disable the Tools switch. It will speed up the response time when using local models. When tools are enabled, PyGPT prefers native tool calls whenever the current model/provider supports them. If native tool calls are unavailable, Chat with Files automatically falls back to a LlamaIndex ReAct agent. The ReAct fallback is non-streaming, so stream mode is disabled automatically only on that path; there is no separate ReAct setting.
Querying single files
You can also query individual files "on the fly" using the query_file command from the Files I/O plugin. This allows you to query any file by simply asking a question about that file. A temporary index will be created in memory for the file being queried, and an answer will be returned from it. A similar command is available for querying web and external content: Directly query web content with LlamaIndex.
For example:
If you have a file: data/my_cars.txt with content My car is red.
You can ask for: Query the file my_cars.txt about what color my car is.
And you will receive the response: Red.
Note: this command indexes the file only for the current query and does not persist it in the database. To store queried files also in the standard index you must enable the option Auto-index readed files in plugin settings. Remember to enable the Tools switch to allow the use of tools and commands from plugins.
Using Chat with Files mode
In this mode, you are querying the whole index, stored in a vector store database. To start, you need to index (embed) the files you want to use as additional context. Embedding transforms your text data into vectors. If you're unfamiliar with embeddings and how they work, check out this article:
https://stackoverflow.blog/2023/11/09/an-intuitive-introduction-to-text-embeddings/
For a visualization from OpenAI's page, see this picture:
Source: https://cdn.openai.com/new-and-improved-embedding-model/draft-20221214a/vectors-3.svg
To index your files, copy or upload them into the active data directory and initiate indexing (embedding) by clicking the Index all button, or right-click on a file and select Embed into index. Normally this is /data; if the current conversation belongs to a project with a custom data workdir, the project directory is used instead. Additionally, you have the option to utilize data from indexed files in any Chat mode by activating the RAG (inline) plugin.
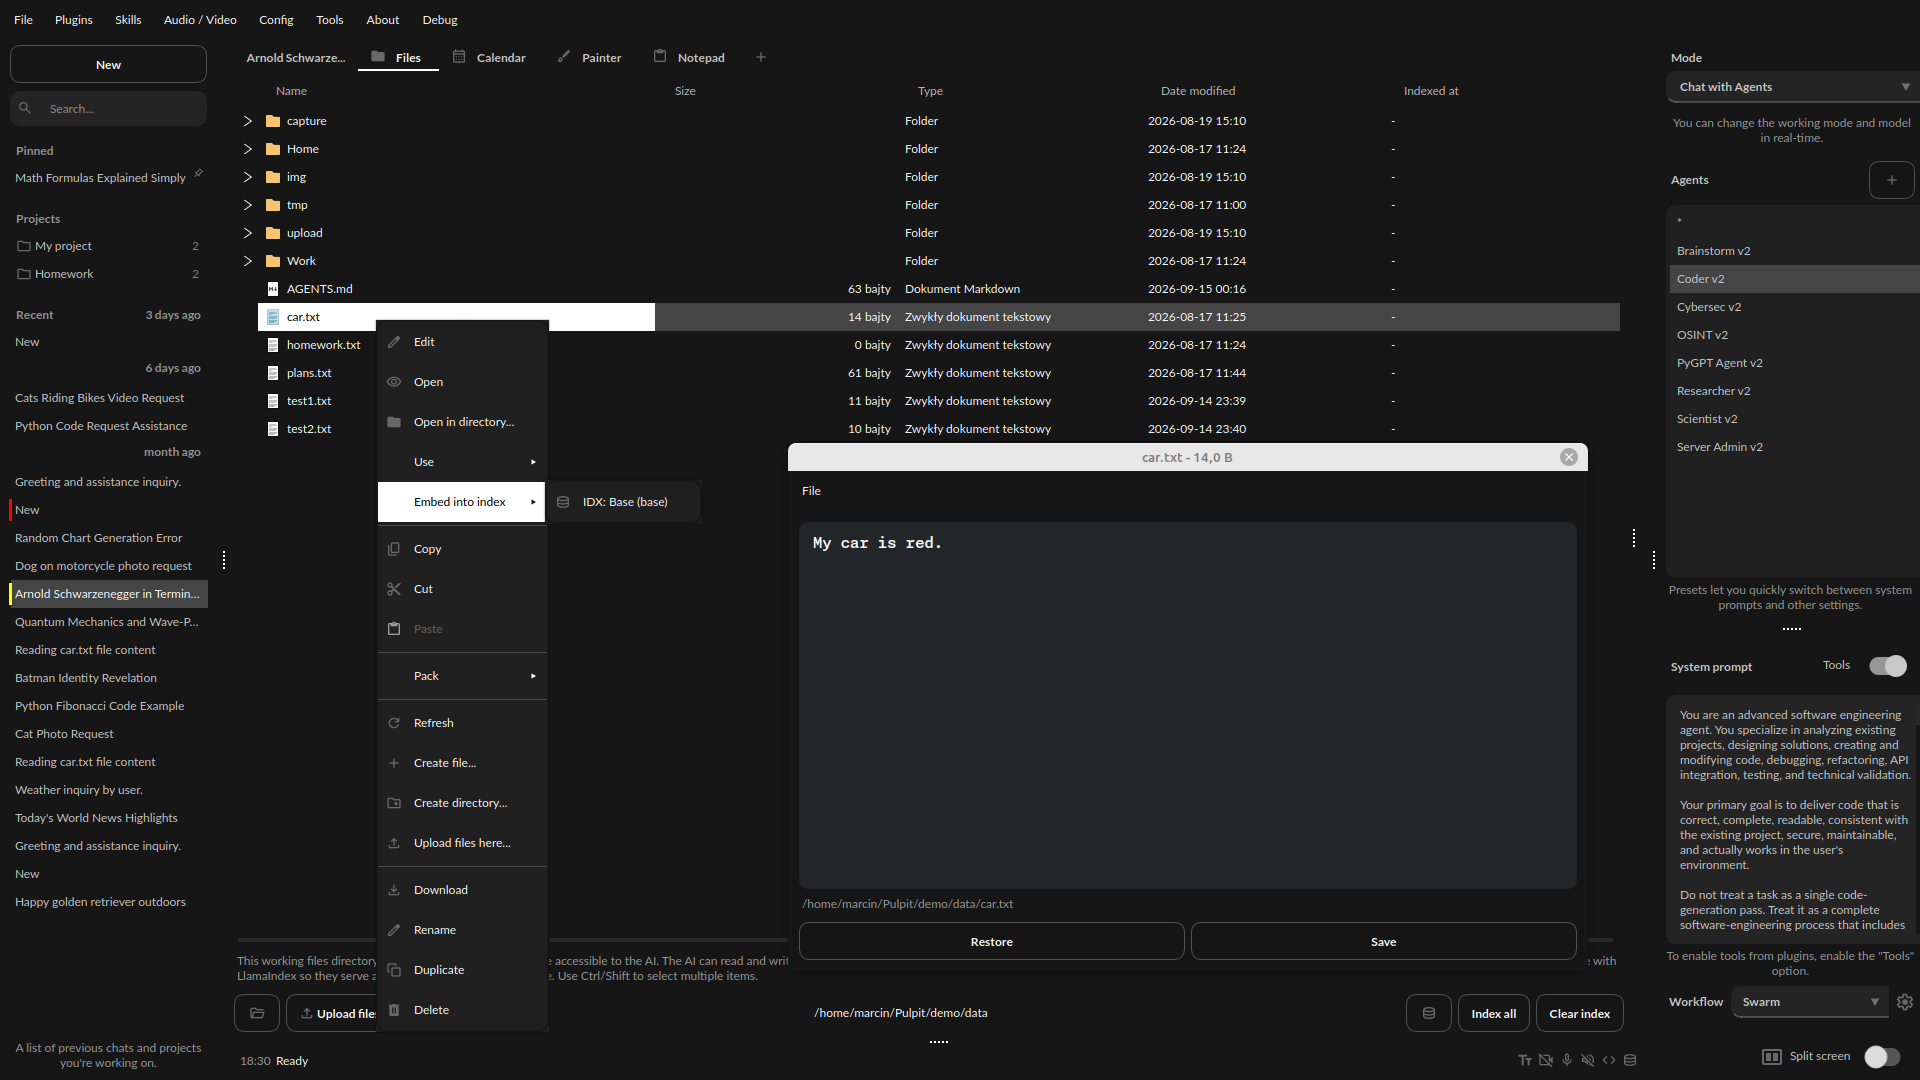
After the file(s) are indexed (embedded in vector store), you can use context from them in chat mode.
Built-in file loaders:
Files:
→ →
→ →
→ →
→ →
→ →
→ →
→ →
→