1
 →
→
An AI Gateway, registry, and proxy that sits in front of any MCP, A2A, or REST/gRPC APIs, exposing a unified endpoint with centralized discovery, guardrails and management.
IBM/mcp-context-forge is an open-source project on GitHub, mainly written in Python. An AI Gateway, registry, and proxy that sits in front of any MCP, A2A, or REST/gRPC APIs, exposing a unified endpoint with centralized discovery It currently holds 4,504 stars and 877 forks with 0 open issues, and was last pushed on an unknown date (repository created unknown).
AI Homed tracks it on the AI Prompt Engineering board.
An open source registry and proxy that federates MCP, A2A, and REST/gRPC APIs with centralized governance, discovery, and observability. Optimizes Agent & Tool calling, and supports plugins.



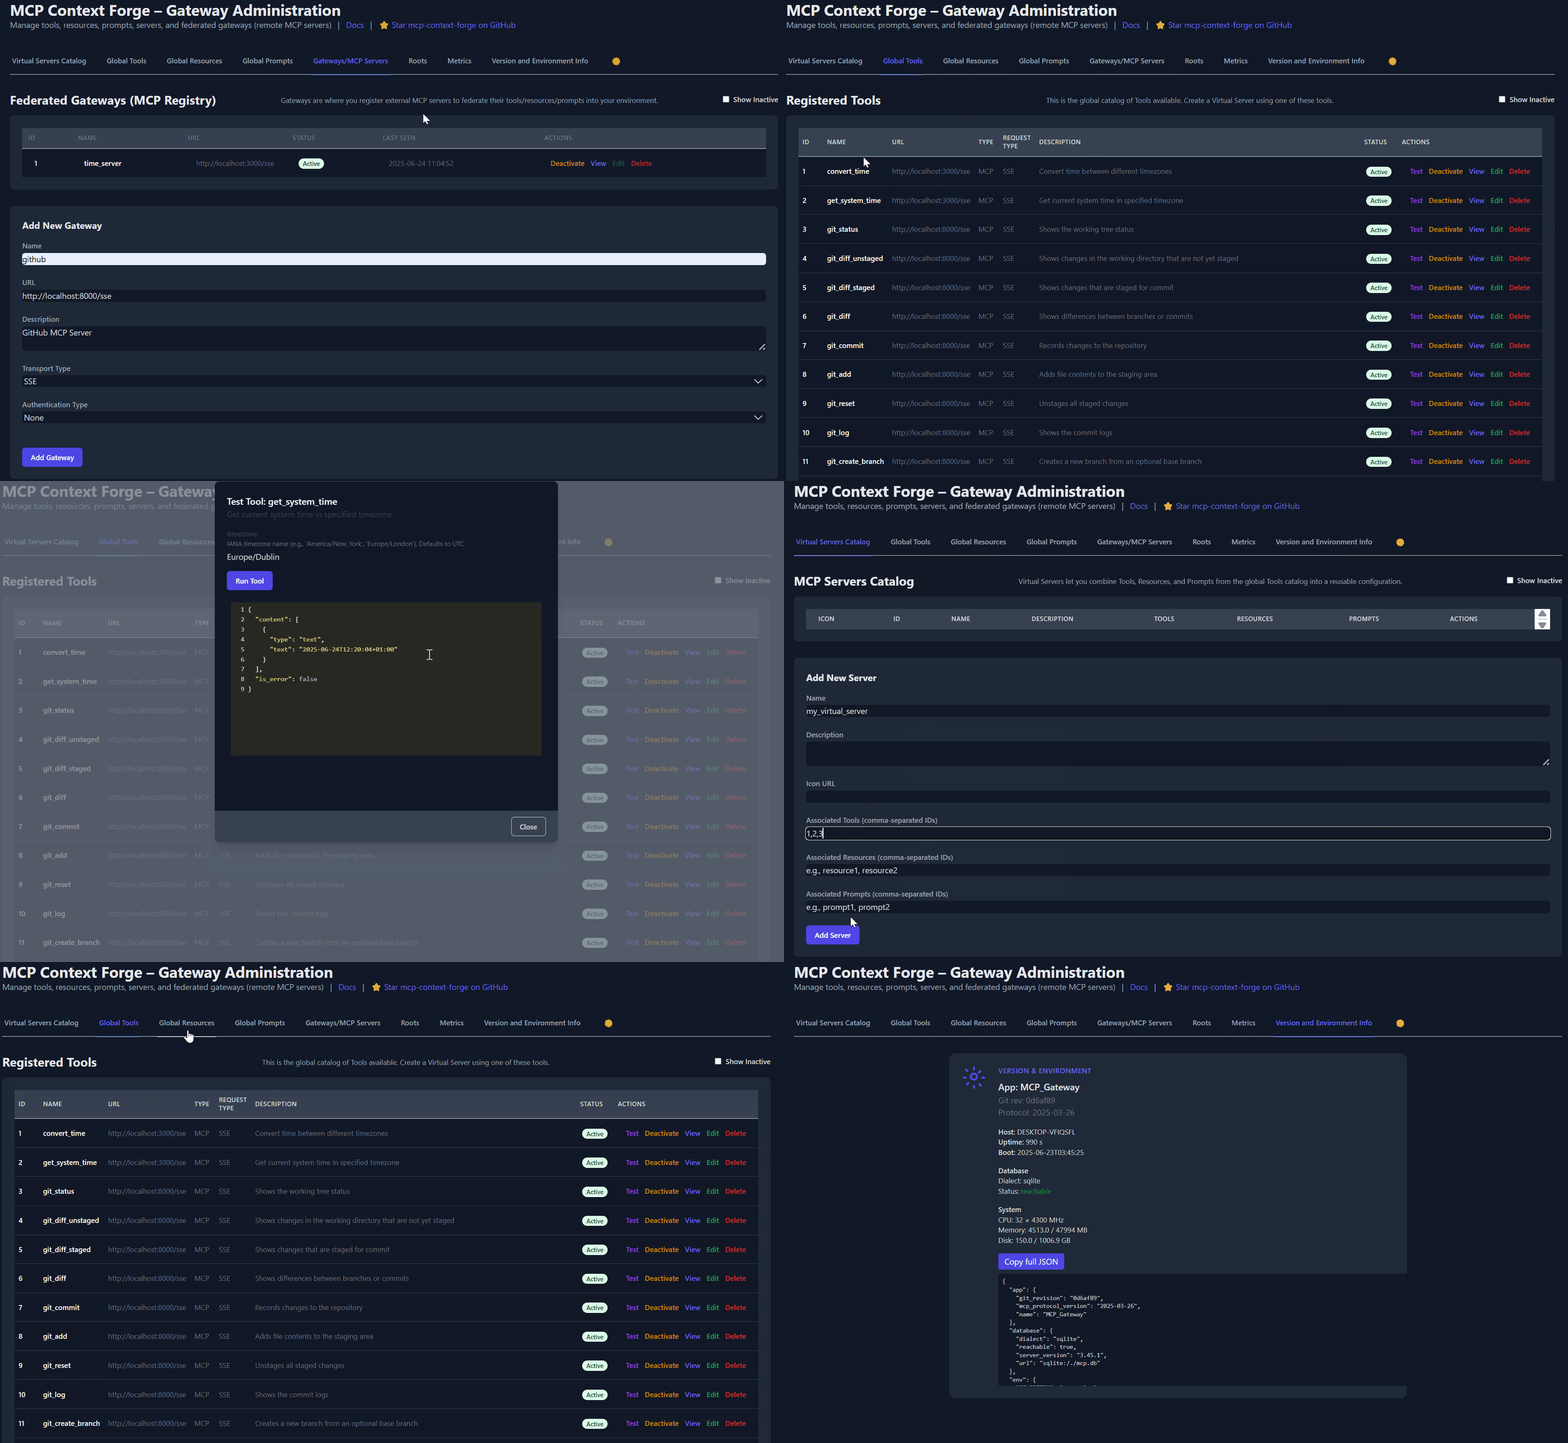
ContextForge is an open source registry and proxy that federates tools, agents, and APIs into one clean endpoint for your AI clients. It provides centralized governance, discovery, and observability across your AI infrastructure:
 ---
---
| Resource | Description | |----------|-------------| | 5-Minute Setup | Get started fast — uvx, Docker, Compose, or local dev | | Getting Help | Support options, FAQ, community channels | | Issue Guide | How to file bugs, request features, contribute | | Full Documentation | Complete guides, tutorials, API reference | | Deprecations | Deprecated runtime paths and migration guidance |
---
ContextForge is an open source registry and proxy that federates any Model Context Protocol (MCP) server, A2A server, or REST/gRPC API, providing centralized governance, discovery, and observability. It optimizes agent and tool calling, and supports plugins. See the project roadmap for more details.
It currently supports:

For a list of upcoming features, check out the ContextForge Roadmap
---
2025-11-25)---
ContextForge is published on PyPI as mcp-contextforge-gateway.
---
⚠️JWT_SECRET_KEYandAUTH_ENCRYPTION_SECRETare required in every environment — including local development. The gateway will not start without them. Generate real secrets withpython3 -m mcpgateway.scripts.init_secretsbefore first run.
TLDR — single command using uv:
# 1️⃣  Generate secure secrets (creates .env.secrets)
python3 -m mcpgateway.scripts.init_secrets
2️⃣  Export the generated values
export JWT_SECRET_KEY="$(grep '^JWT_SECRET_KEY=' .env.secrets | cut -d= -f2)"
export AUTH_ENCRYPTION_SECRET="$(grep '^AUTH_ENCRYPTION_SECRET=' .env.secrets | cut -d= -f2)"
3️⃣  Start the gateway
JWT_SECRET_KEY="$JWT_SECRET_KEY" \
AUTH_ENCRYPTION_SECRET="$AUTH_ENCRYPTION_SECRET" \
MCPGATEWAY_UI_ENABLED=true \
MCPGATEWAY_ADMIN_API_ENABLED=true \
PLATFORM_ADMIN_EMAIL=admin@example.com \
uvx --from mcp-contextforge-gateway mcpgateway --host 0.0.0.0 --port 4444
# 1️⃣  Create an isolated env and install from PyPI
mkdir mcpgateway && cd mcpgateway
python3 -m venv .venv && source .venv/bin/activate
pip install --upgrade pip
pip install mcp-contextforge-gateway
2️⃣  Download .env.example and generate real secrets
curl -O https://raw.githubusercontent.com/IBM/mcp-context-forge/main/.env.example
cp .env.example .env
Generate cryptographically secure secrets into .env.secrets
python3 -m mcpgateway.scripts.init_secrets
Patch the generated secrets into .env (replaces __REPLACE_ME__ placeholders)
python3 -m mcpgateway.scripts.init_secrets --patch-env .env
3️⃣  Start the gateway
mcpgateway --host 0.0.0.0 --port 4444 &
4️⃣  Generate a bearer token and smoke-test
export JWT_SECRET_KEY=$(grep '^JWT_SECRET_KEY=' .env | cut -d= -f2)
export MCPGATEWAY_BEARER_TOKEN=$(python3 -m mcpgateway.utils.create_jwt_token \
    --username admin@example.com --exp 10080 --secret "$JWT_SECRET_KEY")
curl -s -H "Authorization: Bearer $MCPGATEWAY_BEARER_TOKEN" \
     http://127.0.0.1:4444/version | jq
# 1️⃣  Isolated env + install from PyPI
mkdir mcpgateway ; cd mcpgateway
python3 -m venv .venv ; .\.venv\Scripts\Activate.ps1
pip install --upgrade pip
pip install mcp-contextforge-gateway
2️⃣  Download .env.example and generate real secrets
Invoke-WebRequest -Uri "https://raw.githubusercontent.com/IBM/mcp-context-forge/main/.env.example" -OutFile ".env.example"
Copy-Item .env.example .env
Generate cryptographically secure secrets into .env.secrets
python3 -m mcpgateway.scripts.init_secrets
Patch the generated secrets into .env (replaces __REPLACE_ME__ placeholders)
python3 -m mcpgateway.scripts.init_secrets --patch-env .env
3️⃣  Launch the gateway
mcpgateway.exe --host 0.0.0.0 --port 4444
4️⃣  Bearer token and smoke-test
$Env:JWT_SECRET_KEY = (Get-Content .env | Select-String '^JWT_SECRET_KEY=').ToString().Split('=')[1]
$Env:MCPGATEWAY_BEARER_TOKEN = python3 -m mcpgateway.utils.create_jwt_token `
    --username admin@example.com --exp 10080 --secret $Env:JWT_SECRET_KEY
curl -s -H "Authorization: Bearer $Env:MCPGATEWAY_BEARER_TOKEN" `
     http://127.0.0.1:4444/version | jq
# 1️⃣  Isolated env + install from PyPI using uv
mkdir mcpgateway ; cd mcpgateway
uv venv
.\.venv\Scripts\activate
uv pip install mcp-contextforge-gateway
Continue with steps 2️⃣-4️⃣ above...
Copy .env.example to .env and tweak any of the settings (or use them as env variables).
# 1️⃣  Spin up the sample MCP time server using mcpgateway.translate & docker (replace docker with podman if needed)
python3 -m mcpgateway.translate \
     --stdio "docker run --rm -i ghcr.io/ibm/fast-time-server:latest -transport=stdio" \
     --expose-sse \
     --port 8003
Or using the official mcp-server-git using uvx:
pip install uv # to install uvx, if not already installed
python3 -m mcpgateway.translate --stdio "uvx mcp-server-git" --expose-sse --port 9000
NEW: Expose via multiple protocols simultaneously!
python3 -m mcpgateway.translate \
     --stdio "uvx mcp-server-git" \
     --expose-sse \
     --expose-streamable-http \
     --port 9000
Now accessible via both /sse (SSE) and /mcp (streamable HTTP) endpoints
2️⃣  Register it with the gateway
curl -s -X POST -H "Authorization: Bearer $MCPGATEWAY_BEARER_TOKEN" \
     -H "Content-Type: application/json" \
     -d '{"name":"fast_time","url":"http://localhost:8003/sse"}' \
     http://localhost:4444/gateways
3️⃣  Verify tool catalog
curl -s -H "Authorization: Bearer $MCPGATEWAY_BEARER_TOKEN" http://localhost:4444/tools | jq
4️⃣  Create a virtual server bundling those tools. Use the ID of tools from the tool catalog (Step #3) and pass them in the associatedTools list.
curl -s -X POST -H "Authorization: Bearer $MCPGATEWAY_BEARER_TOKEN" \
     -H "Content-Type: application/json" \
     -d '{"server":{"name":"time_server","description":"Fast time tools","associated_tools":[<ID_OF_TOOLS>]}}' \
     http://localhost:4444/servers | jq
Example curl
curl -s -X POST -H "Authorization: Bearer $MCPGATEWAY_BEARER_TOKEN" \
     -H "Content-Type: application/json" \
     -d '{"server":{"name":"time_server","description":"Fast time tools","associated_tools":["6018ca46d32a4ac6b4c054c13a1726a2"]}}' \
     http://localhost:4444/servers | jq
5️⃣  List servers (should now include the UUID of the newly created virtual server)
curl -s -H "Authorization: Bearer $MCPGATEWAY_BEARER_TOKEN" http://localhost:4444/servers | jq
6️⃣  Client HTTP endpoint. Inspect it interactively with the MCP Inspector CLI (or use any MCP client)
npx -y @modelcontextprotocol/inspector
Transport Type: Streamable HTTP, URL: http://localhost:4444/servers/UUID_OF_SERVER_1/mcp,  Header Name: "Authorization", Bearer Token
---
Use the official OCI image from GHCR with Docker or Podman. Please note: Currently, arm64 is not supported on production. If you are e.g. running on MacOS with Apple Silicon chips (M1, M2, etc), you can run the containers using Rosetta or install via PyPi instead.
Important:docker compose up -ddoes not build the gateway image locally by default — it uses the pre-built image from GHCR. The compose file includes abuild:block as a fallback, but local builds require a hermetic wheel closure that is only produced by the CI pipeline. If you see acryptographyor dependency resolution error during build, you are hitting this — just pull the image instead (step 2 below handles this automatically).
> You also must have a.envfile with real secrets before runningdocker compose up -d. The gateway will not start with placeholder values.
Get a full stack running with PostgreSQL and Redis:
# 1️⃣  Clone the repository
git clone https://github.com/IBM/mcp-context-forge.git
cd mcp-context-forge
2️⃣  Set up .env with real secrets AND pull the pre-built images
cp .env.example .env
python3 -m mcpgateway.scripts.init_secrets --patch-env .env
.env now has strong JWT_SECRET_KEY and AUTH_ENCRYPTION_SECRET
Pull pre-built images from GHCR (avoids local build entirely)
docker pull ghcr.io/ibm/mcp-context-forge:latest
echo 'IMAGE_LOCAL=ghcr.io/ibm/mcp-context-forge:latest' >> .env
Build only the nginx image (small, local-only, builds in seconds)
docker compose build nginx
3️⃣  Start the full stack
docker compose up -d
4️⃣  Check status
docker compose ps
5️⃣  View logs
docker compose logs -f gateway
6️⃣  Access Admin UI: http://localhost:8080/admin
Login: PLATFORM_ADMIN_EMAIL / PLATFORM_ADMIN_PASSWORD (from .env)
7️⃣  Generate an API token
export JWT_SECRET_KEY=$(grep '^JWT_SECRET_KEY=' .env | cut -d= -f2)
docker compose exec gateway python3 -m mcpgateway.utils.create_jwt_token \
  --username admin@example.com --exp 10080 --secret "$JWT_SECRET_KEY"
What you get:
# Start with TLS enabled (auto-generates self-signed certs)
make compose-tls
Access via HTTPS: https://localhost:8443/admin
Or bring your own certificates:
Unencrypted key:
mkdir -p certs
cp your-cert.pem certs/cert.pem && cp your-key.pem certs/key.pem
make compose-tls
Passphrase-protected key:
mkdir -p certs
cp your-cert.pem certs/cert.pem && cp your-encrypted-key.pem certs/key-encrypted.pem
echo "KEY_FILE_PASSWORD=your-passphrase" >> .env
make compose-tls
Deploy to Kubernetes with enterprise-grade features:
# Add Helm repository (when available)
helm repo add mcp-context-forge https://ibm.github.io/mcp-context-forge
helm repo update
For now, use local chart
git clone https://github.com/IBM/mcp-context-forge.git
cd mcp-context-forge/charts/mcp-stack
Generate secrets first
python3 -m mcpgateway.scripts.init_secrets
JWT_SECRET=$(grep '^JWT_SECRET_KEY=' .env.secrets | cut -d= -f2)
ENC_SECRET=$(grep '^AUTH_ENCRYPTION_SECRET=' .env.secrets | cut -d= -f2)
Install with PostgreSQL (default)
IMPORTANT: replace  with a real password — do not use 'changeme' in production
helm install mcp-gateway . \
  --set mcpContextForge.secret.PLATFORM_ADMIN_EMAIL=admin@yourcompany.com \
  --set mcpContextForge.secret.PLATFORM_ADMIN_PASSWORD= \
  --set mcpContextForge.secret.BASIC_AUTH_PASSWORD= \
  --set "mcpContextForge.secret.JWT_SECRET_KEY=${JWT_SECRET}" \
  --set "mcpContextForge.secret.AUTH_ENCRYPTION_SECRET=${ENC_SECRET}"
Check deployment status
kubectl get pods -l app.kubernetes.io/name=mcp-context-forge
Port forward to access Admin UI
kubectl port-forward svc/mcp-gateway-mcp-context-forge 4444:80
Access: http://localhost:4444/admin
Generate API token (reads JWT_SECRET_KEY from the pod's environment)
kubectl exec deployment/mcp-gateway-mcp-context-forge -- \
  python3 -m mcpgateway.utils.create_jwt_token \
  --username admin@yourcompany.com --exp 10080 --secret "${JWT_SECRET}"
SSRF note: Helm defaults to strict SSRF settings (SSRF_ALLOW_PRIVATE_NETWORKS=false).
If you register in-cluster tool URLs, allow only your cluster CIDRs via
mcpContextForge.config.SSRF_ALLOWED_NETWORKS or, for local-only benchmarksetups, temporarily set SSRF_ALLOW_PRIVATE_NETWORKS=true.
Seedocs/docs/manage/configuration.md#ssrf-protectionanddocs/docs/deployment/helm.md.
Enterprise Features:
# Generate secrets first (creates .env.secrets)
python3 -m mcpgateway.scripts.init_secrets
export JWT_SECRET_KEY="$(grep '^JWT_SECRET_KEY=' .env.secrets | cut -d= -f2)"
export AUTH_ENCRYPTION_SECRET="$(grep '^AUTH_ENCRYPTION_SECRET=' .env.secrets | cut -d= -f2)"
docker run -d --name mcpgateway \
  -p 4444:4444 \
  -e MCPGATEWAY_UI_ENABLED=true \
  -e MCPGATEWAY_ADMIN_API_ENABLED=true \
  -e HOST=0.0.0.0 \
  -e JWT_SECRET_KEY="${JWT_SECRET_KEY}" \
  -e AUTH_ENCRYPTION_SECRET="${AUTH_ENCRYPTION_SECRET}" \
  -e AUTH_REQUIRED=true \
  -e PLATFORM_ADMIN_EMAIL=admin@example.com \
  -e PLATFORM_ADMIN_PASSWORD= \
  -e PLATFORM_ADMIN_FULL_NAME="Platform Administrator" \
  -e DATABASE_URL=sqlite:///./mcp.db \
  -e SECURE_COOKIES=false \
  ghcr.io/ibm/mcp-context-forge:latest
Tail logs
docker logs -f mcpgateway
Generate API token (using the same secret)
docker run --rm -it \
  -e JWT_SECRET_KEY="${JWT_SECRET_KEY}" \
  ghcr.io/ibm/mcp-context-forge:latest \
  python3 -m mcpgateway.utils.create_jwt_token \
  --username admin@example.com --exp 10080 --secret "${JWT_SECRET_KEY}"
Browse to http://localhost:4444/admin and login with PLATFORM_ADMIN_EMAIL / PLATFORM_ADMIN_PASSWORD.
Persist SQLite database:
mkdir -p $(pwd)/data && touch $(pwd)/data/mcp.db && chmod 777 $(pwd)/data
docker run -d --name mcpgateway --restart unless-stopped \
  -p 4444:4444 -v $(pwd)/data:/data \
  -e DATABASE_URL=sqlite:////data/mcp.db \
  -e MCPGATEWAY_UI_ENABLED=true -e MCPGATEWAY_ADMIN_API_ENABLED=true \
  -e HOST=0.0.0.0 -e JWT_SECRET_KEY="${JWT_SECRET_KEY}" \
  -e AUTH_ENCRYPTION_SECRET="${AUTH_ENCRYPTION_SECRET}" \
  -e PLATFORM_ADMIN_EMAIL=admin@example.com -e PLATFORM_ADMIN_PASSWORD= \
  ghcr.io/ibm/mcp-context-forge:latest
Host networking (access local MCP servers):
docker run -d --name mcpgateway --network=host \
  -v $(pwd)/data:/data -e DATABASE_URL=sqlite:////data/mcp.db \
  -e MCPGATEWAY_UI_ENABLED=true -e HOST=0.0.0.0 -e PORT=4444 \
  -e JWT_SECRET_KEY="${JWT_SECRET_KEY}" -e AUTH_ENCRYPTION_SECRET="${AUTH_ENCRYPTION_SECRET}" \
  ghcr.io/ibm/mcp-context-forge:latest
Airgapped deployment (no internet):
docker build -f Containerfile -t mcpgateway:airgapped .
docker run -d --name mcpgateway -p 4444:4444 \
  -e MCPGATEWAY_UI_AIRGAPPED=true -e MCPGATEWAY_UI_ENABLED=true \
  -e HOST=0.0.0.0 -e JWT_SECRET_KEY="${JWT_SECRET_KEY}" \
  -e AUTH_ENCRYPTION_SECRET="${AUTH_ENCRYPTION_SECRET}" \
  mcpgateway:airgapped
---
podman run -d --name mcpgateway \
  -p 4444:4444 -e HOST=0.0.0.0 -e DATABASE_URL=sqlite:///./mcp.db \
  ghcr.io/ibm/mcp-context-forge:1.0.0-RC-3
Persist SQLite:
mkdir -p $(pwd)/data && chmod 777 $(pwd)/data
podman run -d --name mcpgateway --restart=on-failure \
  -p 4444:4444 -v $(pwd)/data:/data \
  -e DATABASE_URL=sqlite:////data/mcp.db \
  ghcr.io/ibm/mcp-context-forge:1.0.0-RC-3
Host networking:
podman run -d --name mcpgateway --network=host \
  -v $(pwd)/data:/data -e DATABASE_URL=sqlite:////data/mcp.db \
  ghcr.io/ibm/mcp-context-forge:1.0.0-RC-3
---
-e FOO= lines into a file and replace them with --env-file .env. See the provided .env.example for reference.1.0.0-RC-3) instead of latest for reproducible builds. docker exec mcpgateway python3 -m mcpgateway.utils.create_jwt_token \
--username admin@example.com --exp 10080 --secret "${JWT_SECRET_KEY}"
-v $(pwd)/data:/data mount; your DB and config stay intact.---
```bash curl -s -H "Authorization: Bearer $MCPGATEWAY_BEARER_TOKEN" \ http://localhost:4444/health | jq curl -s -H "Authorization: Bearer $MCPGATEWAY_BEARER_TOKEN" \ h
→ →
→ →
→ →
→ →
→ →
→ →
→ →
→